Adding a Database
Let’s explore some awesome powers of Space Cloud. In this guide, we will:
- Add a local Postgres instance to our project
- Create tables
- Make trainers and catch Pokemons 😍 (Insert operation)
- Retrieve all trainers along with their Pokemons 😎 (Join operation)
You can use any other database Space Cloud supports for this guide. We are using Postgres since its simply awesome.
Adding Postgres to our project
Start a local Postgres instance
The first step would be starting a local Postgres instance. Since we already have docker installed, that won’t be much of a problem for us. We are going to use the add database command of space-cli to start a docker container of Postgres for us.
Run the following command in a terminal
space-cli add database postgres --name postgres
It might take some time if you did not have the postgres image cached locally. Run the following command to confirm if postgres is up:
kubectl get pods -n db
Once you have started Postgres, we need to know its IP address. Luckily, the space-cli add database command also creates a domain name for our database, which is of the following format:
<name>.db.svc.cluster.local
Since we had set the --name to postgres in the add database command, the domain name for our Postgres translates to:
postgres.db.svc.cluster.local
Add Postgres to our Space Cloud project
Let’s head over to the Database tab of Storage section in Mission Control. It will prompt you to add a database. Click on the Add Database button to open the following form:
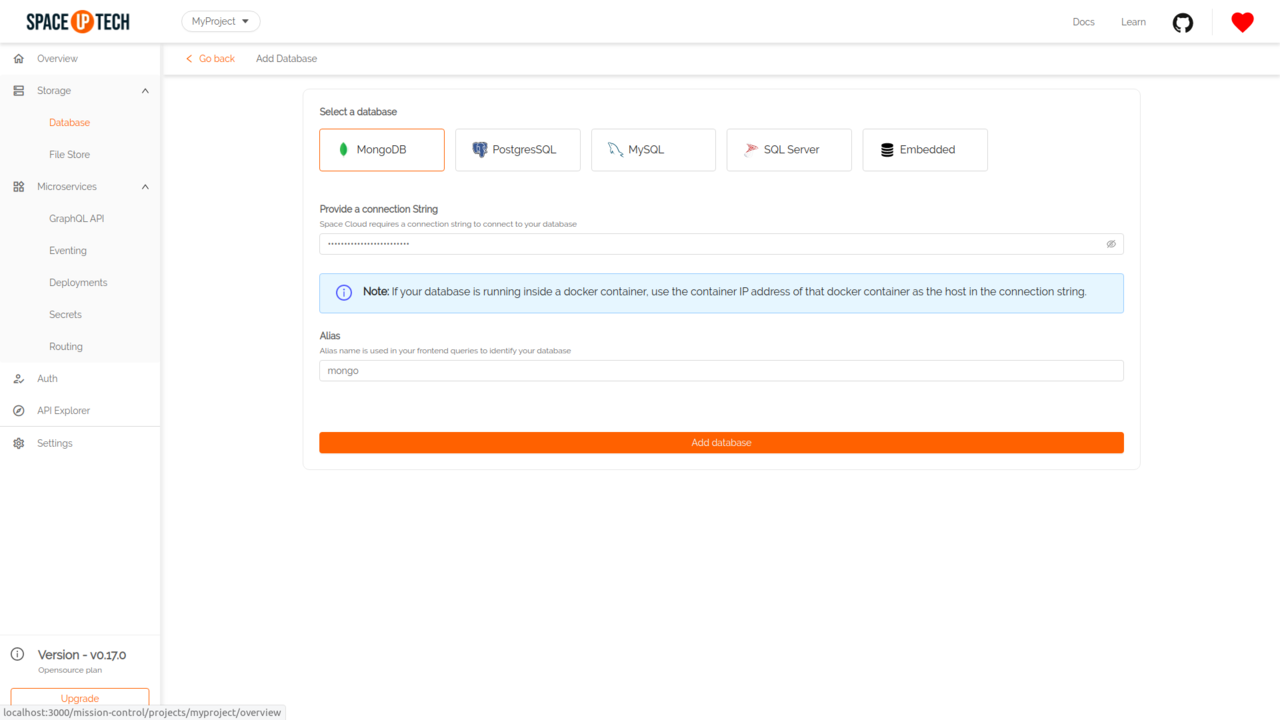
Select POSTGRESQL as the database.
Replace localhost with the domain name we noted earlier to get the final connection string as:
postgres://postgres:mysecretpassword@postgres.db.svc.cluster.local:5432/postgres?sslmode=disable
The alias name for Postgres is postgres by default. The alias name is used to identify the database in GraphQL queries. You can change it to whatever you want or keep it the same.
Hit the Add database button to add the database. If everything goes well, you should see a screen like this:
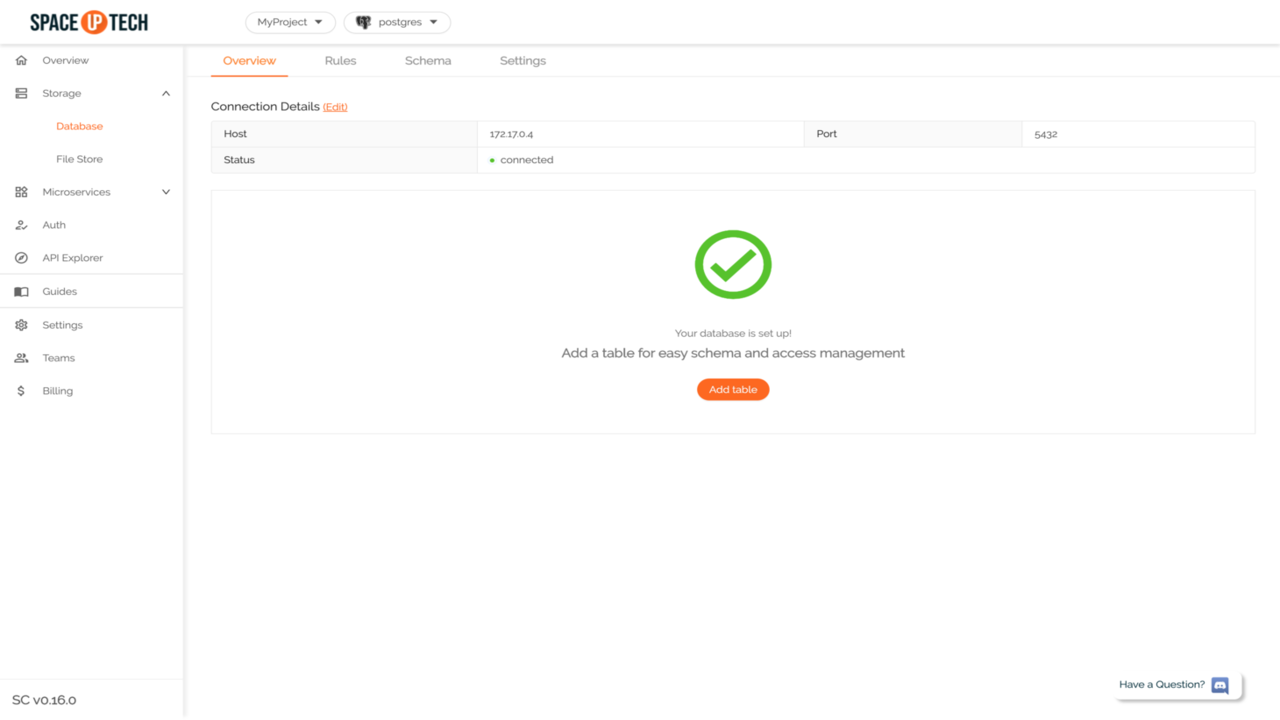
Create tables
Now let’s add some tables.
Click on Add table button to open this form:
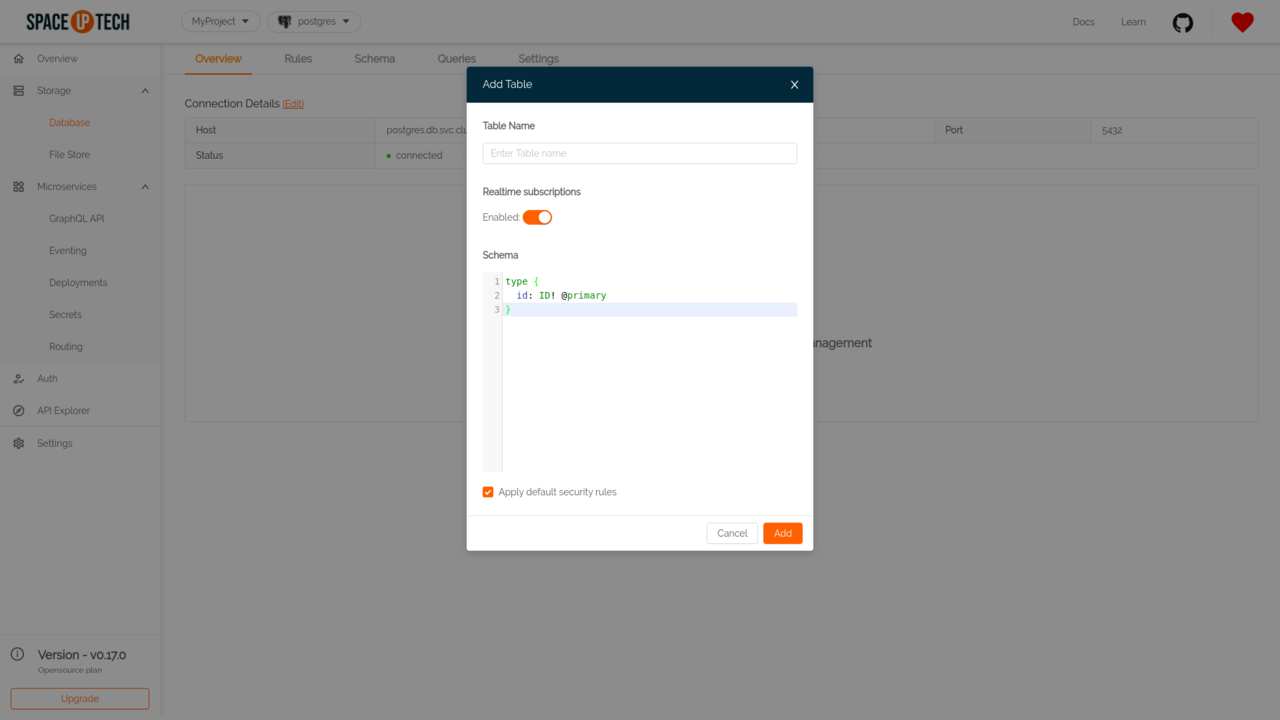
Name this table trainer.
Copy-paste the following schema and hit save:
type trainer {
  id: ID! @primary
  name: String!
  pokemons: [pokemon] @link(table: "pokemon", from: "id", to: "trainer_id")
}
Note: Don’t worry if this syntax is new to you. It is GraphQL SDL which Space Cloud uses to create tables for you. You can read more about it later from here.
Similarly, to create a pokemon table, click on Add Table button once again.
Name this table pokemon.
type pokemon {
  id: ID! @primary
  name: String!
  power: Integer!
  trainer_id: ID! @foreign(table: "trainer", field: "id")
}
Making trainers and catching pokemons (insert operation)
Let’s insert some trainers along with their pokemons.
Head over to the API Explorer tab in Mission Control:
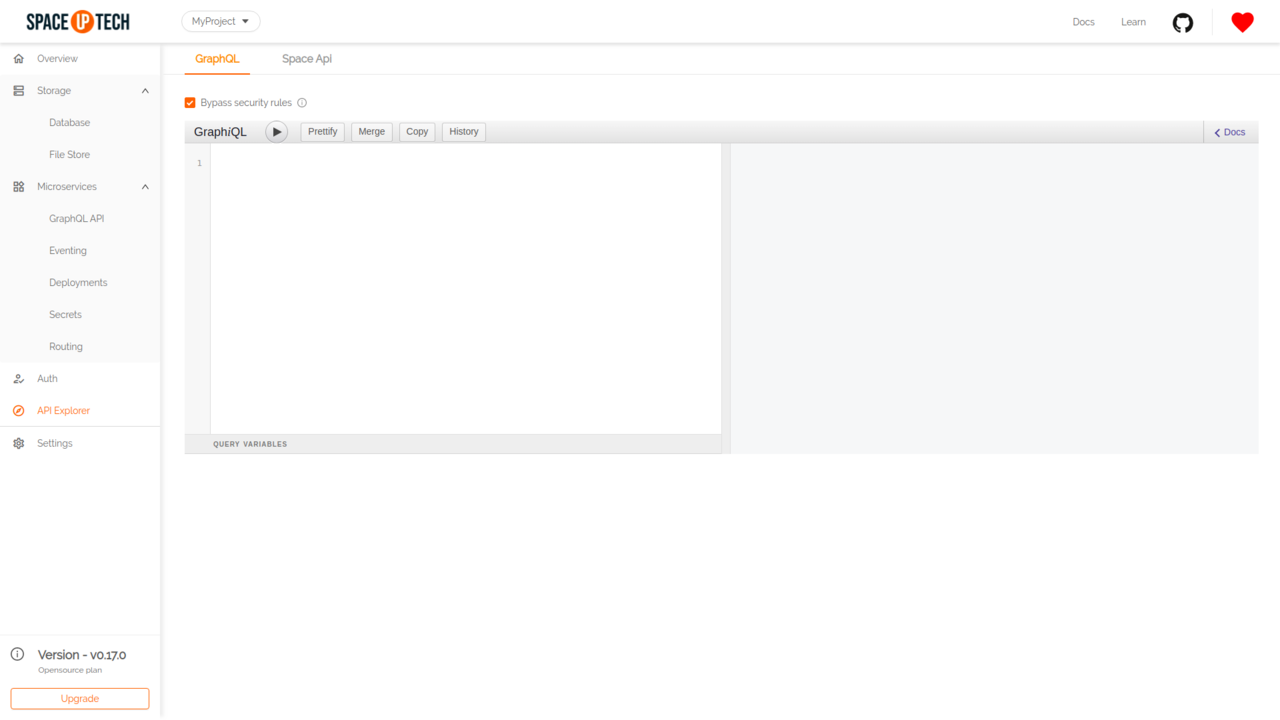
Try running the following query in the GraphiQL section:
mutation {
  insert_trainer(
    docs: [
      {
        id: "1",
        name: "Ash",
        pokemons: [
          { id: "1", name: "Pikachu", power: 300 },
          { id: "2", name: "Snorlax", power: 500 }
        ]
      },
      {
        id: "2",
        name: "Misty",
        pokemons: [
          { id: "3", name: "Psyduck", power: 250 },
          { id: "4", name: "Staryu", power: 350 }
        ]
      },
    ]
  ) @postgres {
    status
    error
  }
}
If
postgresisn’t the alias name that you have provided while adding the database in Mission Control, then you should replace it with your alias name in all the GraphQL queries.
On successful insert, you should be able to see the status as 200 which means you have inserted the records in the database successfully.
You are inserting in two tables simultaneously in this operation. The query is executed as a single transaction.
Retrieve trainers along with their Pokemons (join operation)
Try running the following query in GraphiQL:
query {
  trainer @postgres {
    id
    name
    pokemons {
      id
      name
      power
    }
  }
}
The response should look something like this:
{
  "trainer": [
    {
      "id": "1",
      "name": "Ash",
      "pokemons": [
        {
          "id": "1",
          "name": "Pikachu",
          "power": 300
        },
        {
          "id": "2",
          "name": "Snorlax",
          "power": 500
        }
      ]
    },
    {
      "id": "2",
      "name": "Misty",
      "pokemons": [
        {
          "id": "3",
          "name": "Psyduck",
          "power": 250
        },
        {
          "id": "4",
          "name": "Staryu",
          "power": 350
        }
      ]
    }
  ]
}
The above query performs a join and returns us the joint result. Similarly, you can perform several types of joins, including joining database results with the response of your services.
You can read more about the different types of database query you can perform from the docs.
Next Steps
Awesome! We have just started our Pokemon journey without writing a single line of backend code. The journey ahead is undoubtedly going to be super exciting!
Continue to the next guide to dockerize and deploy a Restful Nodejs app using Mission Control.


